Call us

Blog
There comes a point in time when constant opening and closing of the laptop screen makes the hinges get loose. The hinges hold the screen together and if they become wobbly, this makes your notebook screen floppy and unstable. A MacBook is no different and can trouble users with this issue if they have been using it for a really long time.
So, how to tell if your MacBook hinges are loose? Well, that’s easy. If your notebook screen doesn’t stand at a certain angle; for instance, at 90 degrees, you can rest assured that the hinges need fastening. Or when you try to close the screen and it slams right down, you can be certain that there’s an issue with the hinges.
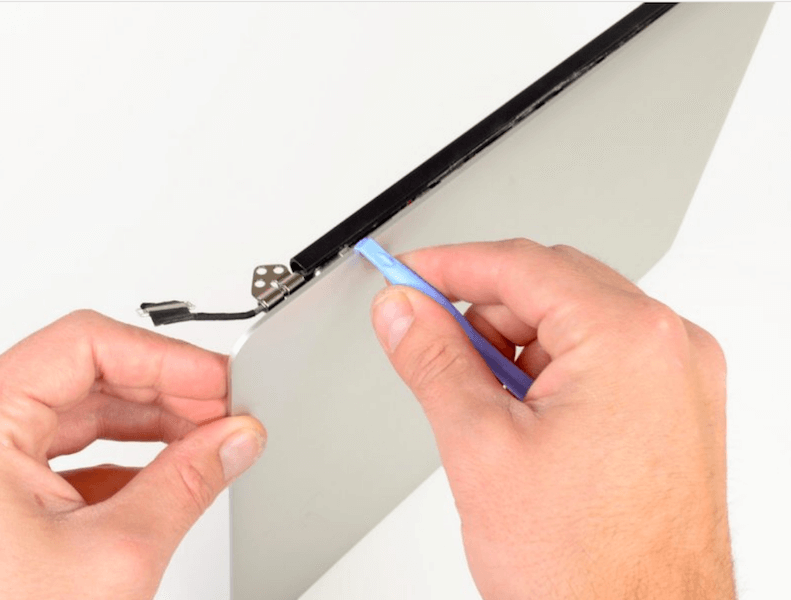
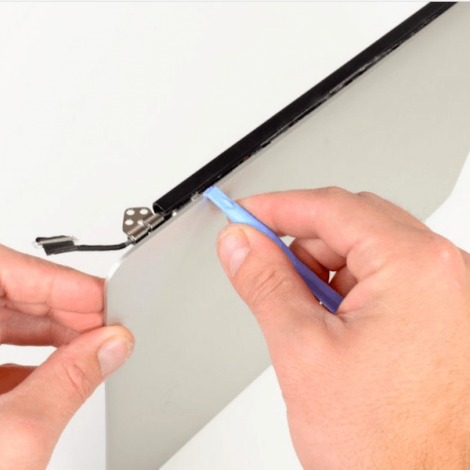
Now, before we start explaining the steps, you may know that tightening the hinges would require you to disassemble the screen which isn’t an easy task. The level of difficulty and risk is high in this type of laptop screen repair. Also, depending on what MacBook model you own, you’d need to follow specific guidelines for disassembling the display.
To get through the disassembly part, it’s better if you put in your MacBook model number on Google and search for its disassembly manual. iFixit is an authentic site that gives access to thousands of free repair manuals to users. You can browse that site and look for the details of your specific model.
Moreover, if you don’t feel confident enough to break into the display, kindly do not take the risk and opt for laptop repair services. Your nearby local repair shop might help you with the issue at cheap rates. Though if you have an AppleCare+ subscription, you can directly contact Apple for your MacBook repair.
With everything made clear, let’s move on to the hinge fastening process.
Floppy screen is an issue that requires a simple fix but the steps to get there are challenging. Because even though fastening the hinges isn’t too difficult for users, the disassembly part can be quite overwhelming. So, you must ensure that you can get the job done without messing up or else you could damage the screen or any other components of your MacBook. If you think you can’t manage it yourself, better take professional help.