
In what order should you install components into the case after disassembling a computer?
If you are thinking about upgrading your computer or performing routine maintenance, you may need to disassemble the case to access the internal components. However, reassembling the computer can be a daunting task, especially if you are not sure about the correct order to install the components. In this guide, we will walk you through the steps to reinstall the components in the correct order after disassembling your computer.
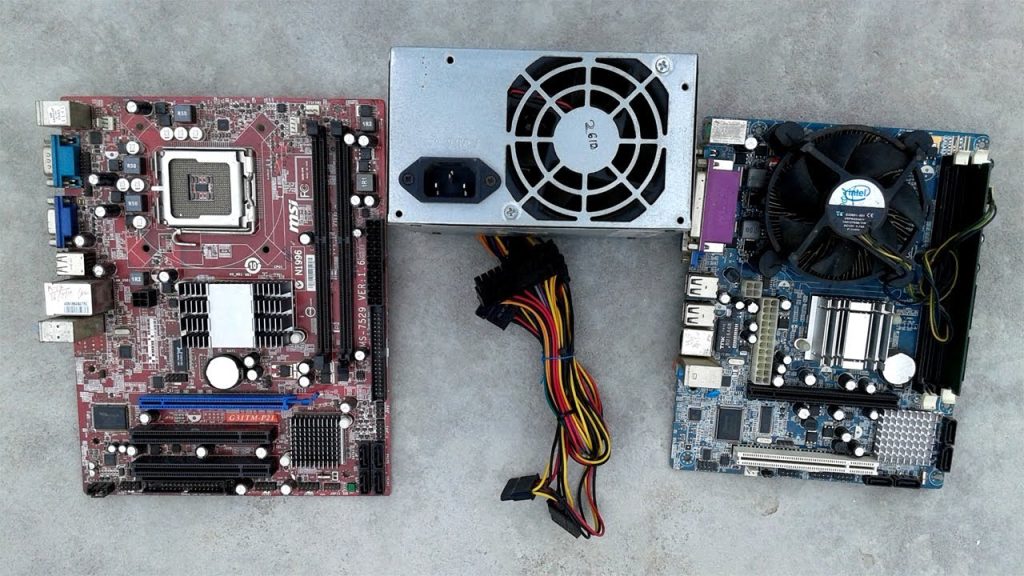
How to put together a disassembled computer unit?
Before you start assembling the components, ensure that your work area is clean and well-lit. Remove any dust or debris from the surface, and make sure you have enough space to lay out the components in an organized manner. It is also essential to have the necessary tools and equipment, such as a screwdriver, pliers, and thermal paste, at hand. Let’s begin!
Step 1: Install the Power Supply
The power supply unit (PSU) is usually the first component you should install in the tower case since it provides power to all the other components. Begin by aligning the PSU with the mounting holes on the back of the case and secure it with screws. Make sure the fan on the PSU is facing downward to allow proper ventilation.
Step 2: Install the Motherboard
Next, install the motherboard, which is the central component that connects all other
hardware components. Carefully align the motherboard with the standoffs on the case and secure it with screws. Ensure that all the ports on the motherboard align with the I/O shield on the case.
Step 3: Install the CPU and RAM
The CPU and RAM are essential components that determine the computer’s processing speed and memory capacity. You may start by inserting the CPU into the motherboard’s CPU socket and securing it with the retention bracket. Next, install the RAM sticks into the appropriate slots on the motherboard, ensuring that they click into place.
Step 4: Install the Storage Devices
Storage devices, such as hard drives or solid-state drives, store data on the computer. You may install the storage devices into the appropriate bays in the case and secure them with screws. Make sure to connect the data and power cables from the PSU to the storage devices.
Step 5: Install the Cooling System
The cooling system, which includes the CPU cooler and case fans, helps regulate the computer’s temperature. Install the CPU cooler onto the CPU, making sure that it makes proper contact with the thermal paste. Then, install the case fans in the appropriate positions to provide optimal airflow.
Step 6: Install the Graphics Card
If you are installing a dedicated graphics card, now is the time to do it. Align the graphics card with the PCIe slot on the motherboard and secure it with a screw. Connect the power cables from the PSU to the graphics card.
Step 7: Connect the Cables
Now, connect all the necessary cables, including the SATA cables from the storage devices to the motherboard, the power cables to the components, and the front panel connectors, such as the power switch and USB ports.
Step 8: Test the System
Before closing the case, it’s important to test the system to ensure that everything is working properly. Connect a monitor, keyboard, and mouse, and power on the system. Make sure that the BIOS recognizes all installed components and that the operating system can be booted.
Final Thoughts:
In a nutshell, installing components into a computer case after disassembling requires a proper order to ensure a successful installation process. Remember to take your time, be patient, and double-check all connections before powering on the computer. With careful attention to detail, you can successfully reassemble your computer and enjoy improved performance.