What to do with a Dell computer that won’t boot up

Dell computers are used widely, thanks to their reliability and affordability. However, complications are bound to occur in such machines over the passage of time. So, if you’re here because your Dell computer won’t boot up, there’s nothing much to worry about. We can help you get rid of this problem.
This article will walk you through solutions that will be useful in case your computer turns on but doesn’t boot the Windows.
What could lead Dell computers to the “no boot up” issue?
Firstly, the “no boot up” issue isn’t exclusive to Dell computers and can occur in any other brand of notebooks. Secondly, a few reasons can lead to this problem.
- A failing hard drive leads to slow performance and screen freezes.
- BIOS misconfiguration due to which the system can’t recognize the bootable drive.
- Virus attacks could corrupt the operating system files on the hard drive.
- Issues in the GPU cause the screen to go blank at the startup.
- Bloatware, low storage, malware, excessive use of heavy apps, overheating, etc. also cause issues during the startup. The OS could also crash if these problems aren’t taken care of.
- Not enough charging could make the computer turn off, cutting off the boot process. Or putting it in sleep mode and as a result displaying a blank screen.
What are the prominent symptoms indicating this complication?
- Your computer may complete the POST (power-on self-test) process; however, it suddenly turns off or gets stuck on the Dell splash screen.
- You can see the LED lights turn on and hear the fan noise, but there’s nothing on the screen.
- The cursor blinks constantly on a blank screen.
- You get error messages like “no bootable device found” or “STOP.”
Let’s get to the fixes now.
How to troubleshoot if the Dell computer won’t boot into the OS?

There are a couple of fixes you can implement to repair the startup issues.
1- Perform a hard reset:
Whenever a screen-freeze issue pops up that stops the computer from booting the Windows, you always go by the textbook i.e. perform a hard reset.
For Dell laptops with removable batteries:
- Turn off the computer.
- Detach the charger completely. Also, remove any external devices like a USB, memory card, DVD, printers, etc.
- Next, remove the battery from the backside. You may pull the latches for the cover to come off and take the battery outside. And follow the same technique to put it back.
- Thumb the power button for 16 to 20 seconds to clear out the residual charge.
- Put the battery back and connect the charger.
- Turn the machine on and see if it boots perfectly.
For Dell notebooks with internal batteries:
The Dell laptops with internal batteries would require you to perform RTC to conduct a hard reset.
- Turn off the computer.
- Ensure the charging cable is connected.
- Thumb the power button until the power LED light blinks three times. It shouldn’t take you more than 35 seconds to start the RTC process.
Note: If you’d press the button for less than 30 seconds or longer than 38 seconds, the RTC process would be terminated.
- Let go of the power button and the reset will be completed.
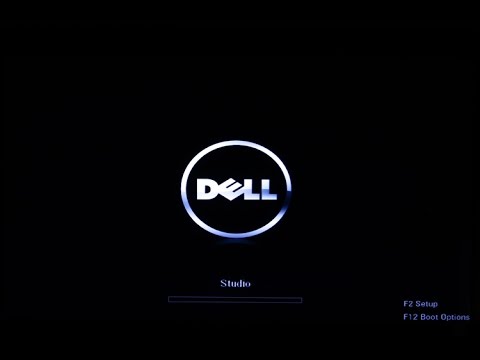
The machine will restart multiple times during the process and boot after you release the power button. The Dell logo screen would indicate the success of the RTC. It may take some time for the system to reset the BIOS and other settings before opening the Windows. So, you may wait for the OS to load after completing the RTC.
2- Fix the boot order in the BIOS:
When you get an error message regarding the bootable device not being detected, it might be that the computer is trying to boot another device like a floppy disk, gaming console, USB, etc., before the hard drive mistakenly. You can correct the settings in the BIOS which will allow the notebook to boot the OS.
- Start the machine again.
- When the Dell logo appears, push down the F2 key until you spot the Setup.
- You may thumb any key that appears on the screen for setting the BIOS to default settings.
- Save the changes and thumb the Esc key to exit the setup.
Note: If you perform RTC, you might not need to follow this procedure because RTC resets BIOS to factory settings.
4- Run the Preboot Diagnostic tool:

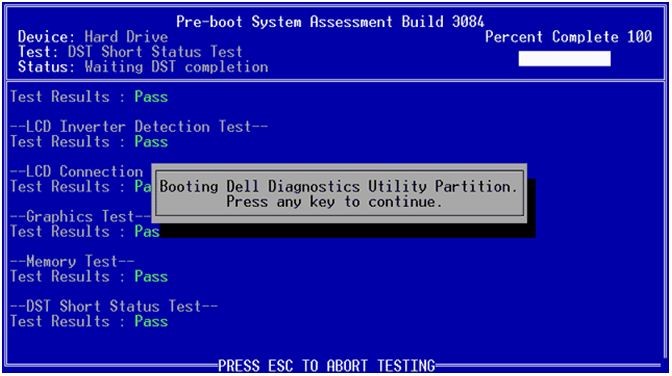
Dell’s pre-boot diagnostic tool may help recognize the failing hardware by testing the components. If it displays any errors, you may contact Dell support for assistance.
- Restart your laptop and thumb the “F12” key multiple times until you see the “One Time Boot Menu.”
- Choose “Diagnostics” from the menu and push the “Enter” key.
- The tool will begin testing. If you need to test a particular component of the machine, you may push the “Esc” key and select “Yes” to stop the ongoing tests.
- You’ll find a page listing by clicking the arrow at the bottom-right corner.
- Choose the component for running tests and note down error codes from the display, if you get any to troubleshoot later.
5- Run startup repair:
Startup repair helps in fixing the errors related to the operating system. If the basic startup repair from the settings app fails, you may use a bootable device with an OS installed on it to resolve the startup complication.
- Get Windows system files on a bootable device like a USB flash drive and connect it to the machine.
- Turn on your notebook and press the “F12” key to navigate to the “One Time Boot Menu.”
- Choose the USB flash drive from the list and thumb “Enter.”
- The laptop will boot, thanks to the USB drive. You may select the language, region, and required settings to move on to the next step.
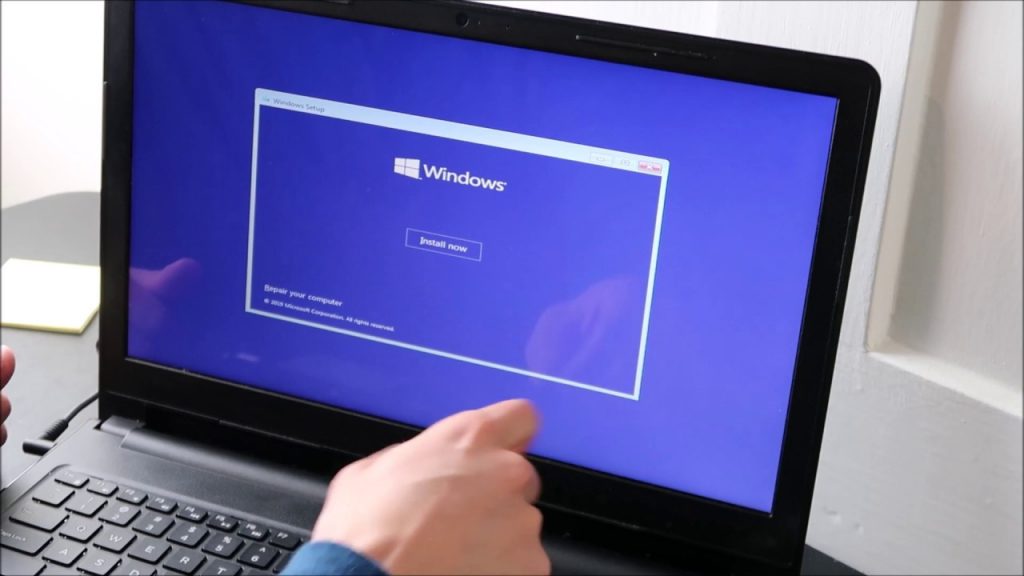
- Click on “Repair your computer” when you get to the “Windows Setup” screen.
- Choose “Troubleshoot” and then “Advanced Options.”
- Select “Startup Repair” and restart after the repairing process completes.
Final thoughts:
For a Dell computer that doesn’t boot up, one of the above-mentioned procedures should do the trick in fixing the problem. You may also look out for viruses in the system by installing good antivirus software. Also, if none of the methods work, you may perform a complete reset using the Dell support assist feature.

